Stakes (for marking out the corners of your shed)
To kick off this exciting journey into constructing sheds, stakes are paramount. They act as markers defining the boundaries and layout before any actual construction begins. It’s like drawing an invisible blueprint that guides you throughout the entire process.

Carpenter’s pencil (a must-have tool during any construction process)
A carpenter’s pencil might seem basic, but it holds immense importance in every builder’s toolkit. Its robust lead makes heavy-duty markings on various surfaces a breeze while its flat design prevents unnecessary rolling away incidents at critical moments.

Tape measure (an indispensable tool used frequently throughout the project)
The humble tape measure is another key player when it comes to shed building tools list. Precise measurements ensure all components fit together seamlessly, creating a sturdy structure.

Spirit level (to ensure you have a level foundation)
Spirit levels play pivotal roles in ensuring that everything from foundations through framing work remains perfectly horizontal or vertical depending upon orientation. Without accurate leveling, instability could plague structure over time leading serious problems down the line.

Spade & shovel (preparing ground where shed will be built)
Finally, spades and shovels round up our fundamentals list by helping prepare site prior to constructing. They help dig holes and remove debris or even terrain if needed, making them fundamental tools in the toolbox. Each of these not only brings efficiency but also contributes quality finished product.

Remember that good preparation always leads to smoother execution and better results.
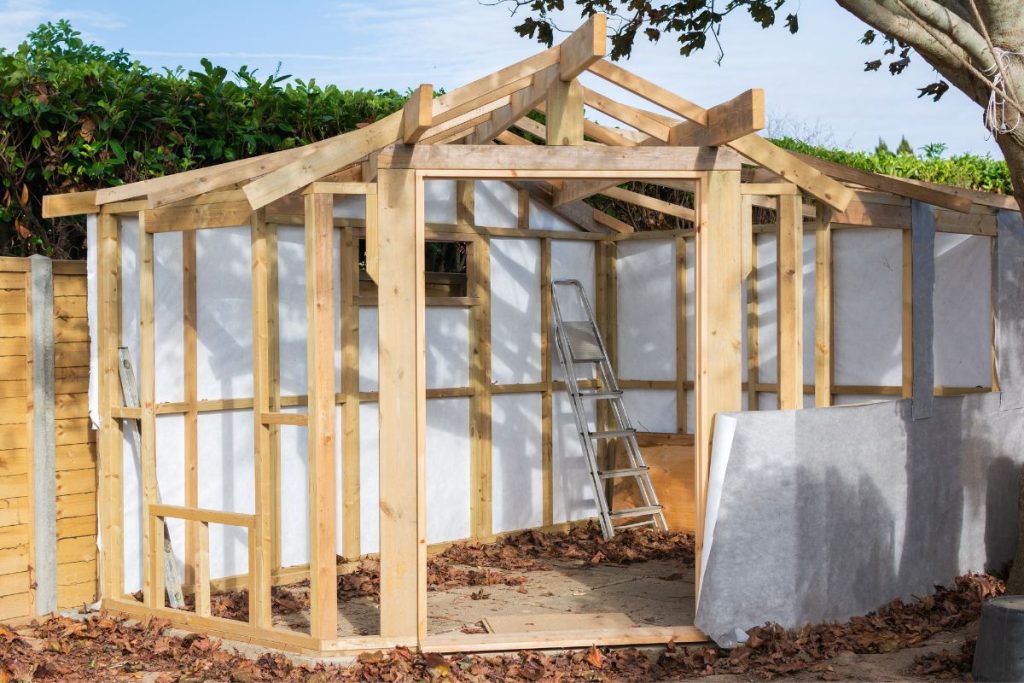
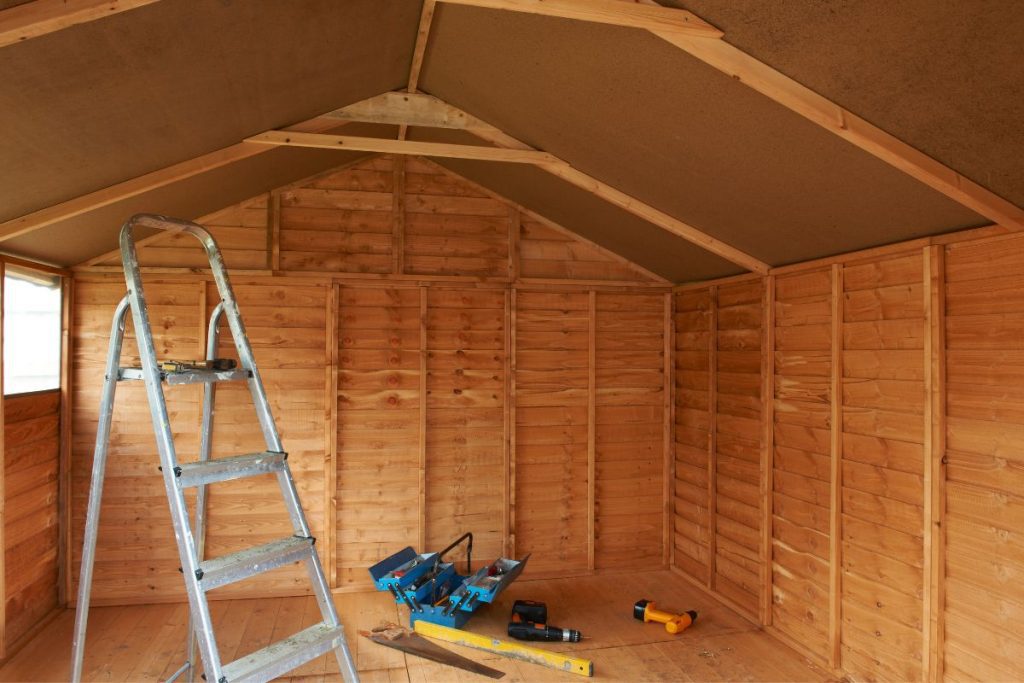
Foundation Tools to Build a Shed
 In the realm of shed building, there’s no overlooking the importance of a solid foundation. It serves as your project’s backbone and ensures that it can withstand various weather conditions and loads over time. As such, selecting an appropriate type of foundation is crucial – one popular choice being pier foundations.
Pier foundations offer durability and versatility in spades. They work by distributing your shed’s weight evenly across its base via cylindrical footings – essentially acting like miniature pillars supporting each corner or critical load point on your structure.
Post hole digger/auger (used when making use of a pier foundation)
A vital tool to have at hand during this process is either a post hole digger or auger. They are both designed to create deep, narrow holes where you’ll place your piers.
This manually operated device functions much like large scissors with spoon-shaped blades at their ends which scoop out soil upon closing together. A perfect companion for those who prefer hands-on tools while creating sturdy groundwork for outdoor constructions including sheds.

An alternative option would be using an electrically powered auger which employs spiral drilling action resulting in efficient dirt removal from each dug-out pit. Its mechanized operation makes it less physically demanding than manual digging. Hence, it is suitable if power sources are readily available around construction site.
Tin snips (your go-to tool for precise cuts)
The journey towards creating an ideal shed often requires you to cut and shape different types of material. This can seem challenging but worry not. The right tool – tin snips, makes this process much simpler than it sounds.
A pair of tin snips, also known as shears, are akin to heavy-duty scissors that offer precise control over cuts. They come into play when you’re dealing with flexible yet tough materials like asphalt shingles or roofing paper used commonly in sheds.

This precision instrument helps facilitate better fitment by allowing you to trim these substances accurately according to your specific requirements during the shed building process.
For instance, if there’s any overlap on roof corners or eaves while laying down shingles, tin snips would be just what you need to achieve a neat, clean finish. Not only does it improve aesthetic appeal of the structure, but it also ensures proper installation, thereby enhancing overall durability and longevity of the project.
Maintaining Sharpness of Tin Snips
Regularly sharpening your tin snip blades will ensure they remain efficient and provide clean cuts without causing damage due to tearing rough edges created by dull instruments.

It’s worth noting that safety precautions must be taken when handling sharp tools to prevent accidents and injuries that occur during use, storage, handling etc. So always wear protective gloves and hold tools securely in a well-lit environment to minimize risk mishaps happening in the work area.
Pick the Right Type of Tin Snips
There three main types available – straight-cutting (yellow handles), left-cutting (red handles), and right cutting (green handles). These are designed differently to accommodate varying directions and shapes that you might encounter over the course of the project.

Choosing one based on the requirement could save lot of time and effort and give desired results more effectively.
Punch (a handy tool to mark off center points prior to drilling)
The humble center punch, often simply known as ‘the punch’, should be part and parcel of every handyman’s toolkit. Its primary function? To mark off center points on materials like wood or metal prior to drilling.

This might seem insignificant but it’s actually crucial for precise hole placement. When you’re constructing something as substantial and complex as a shed, even slight inaccuracies can lead to significant problems. Misaligned walls or unstable structures are just two potential pitfalls.
A typical punch features two ends: one pointed end used for making marks and another flat end designed for striking with a hammer or mallet.
Using it correctly involves placing the pointy end where your hole needs to be centered then giving the other side a firm tap with your hammer/mallet. It then creates an indentation which serves as guide when you’re ready to drill.
Selecting the Right Punch for Your Project
If you’re buying tools specifically tailored towards building sheds, consider investing into automatic center punches. Unlike traditional models requiring manual force application via hammers/mallets, these come equipped with spring-loaded mechanisms enabling them to create indentations upon pressing against surface directly.

An alternative worth considering are prick punches. They’re ideal if you’re working primarily with metals due to their sharpness providing deeper impressions compared to standard ones.
Remember though: regardless of type chosen, ensure that the handle comfortably fits within grip to avoid any potential strain or injuries during prolonged usage periods.
Speed square (handy for finding right angles & marking cut-offs on wide stock)
A speed square is no ordinary tool – it’s a carpenter’s best friend. This multi-purpose instrument comes in handy when you need to check 90-degree angles or determine roof pitches while working with materials such as asphalt shingles or roofing papers.

You might be wondering why it has ‘speed’ in its name? It’s simple – this tool lets you accomplish multiple tasks quickly without compromising precision.
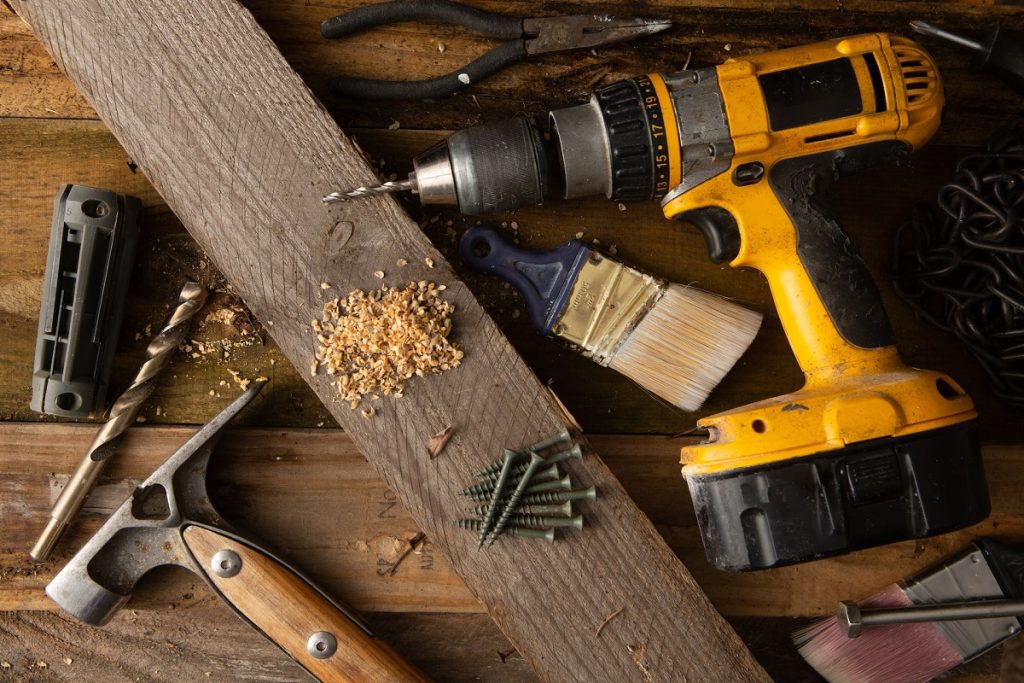
Circular saw (useful for cutting various types of material)
No shed-building endeavor would be complete without some serious slicing action. That’s where circular saws come into play. They have power and versatility written all over them.

This handheld marvel uses round blades filled with sharp teeth rotating at high speeds – perfectly designed to slice through different kinds of materials smoothly.
Just remember that the blade type should match what you’re trying to cut. Wood requires specific ones compared to metal, masonry, etc., which will yield better results than using general-purpose blades.
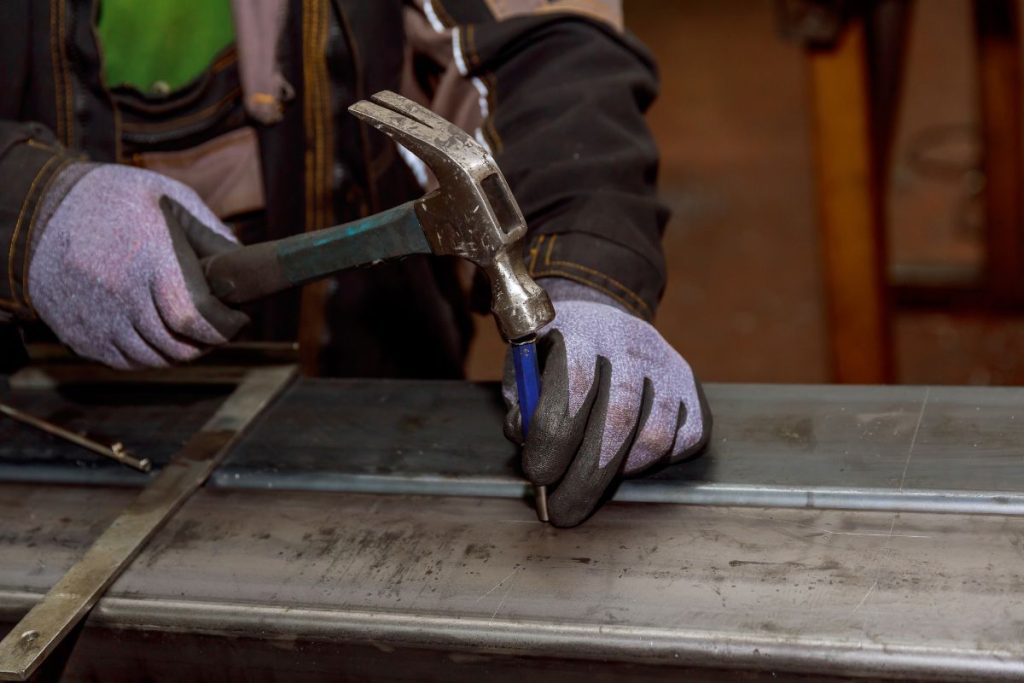
Framing hammer (prevents nails from slipping off)
The framing hammer, an upgrade from its regular counterpart, boasts unique features designed specifically for construction tasks like shed building. Its most distinctive feature? The waffle head design.
This isn’t just about aesthetics – it serves a critical purpose in preventing the head from slipping off nails during use. When you’re crafting something as large and complex as a shed, precision matters immensely. Even minor missteps or slips could lead to wasted materials or potential injuries.

A framing hammer’s waffle head ensures each strike lands exactly where intended without slippage. It enhances accuracy while boosting safety by reducing mishaps caused by missed strikes.
Beyond this standout feature, what sets apart a framing hammer are aspects such as weight distribution and handle length. Framing hammers typically have longer handles that offer greater leverage when swinging – enabling harder hits with less effort on your part.
Their heavier heads make driving larger nails into thick wooden beams swift. This is crucial when assembling sturdy structures like sheds.
Picking the right type of hammer plays an instrumental role in determining how efficiently you’ll be able to complete your project. For constructing sheds, choosing a framing hammer would certainly prove beneficial due to aforementioned reasons.